2018年3月8日 下午2:48
参看文章:
centos安装nginx:在配置文件中实现反向代理
2017/10/2 Mac中配置php的步骤记录
我Mac上nginx路径:_usr_local_etc_nginx
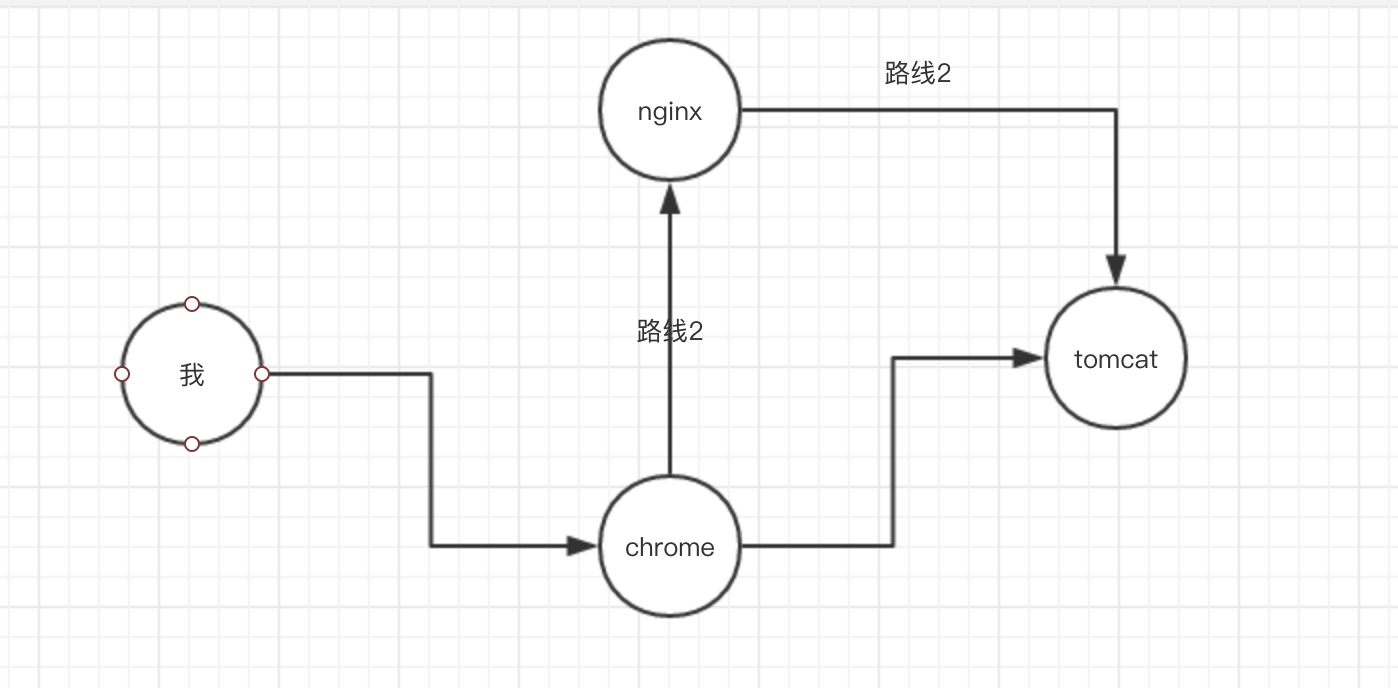
重要的分析:
- 这里一步是在没有开启nginx的时候,通过域名去访问8080,9080端口,也就说访问tomcat没有通过nginx。
- 对tomcat来说,到达他的方式有两种,不一定非得nginx启动
第一步:操作tomcat
- 删除原先的tomcat
- 我没有删,直接在~路径下创建了两个新的
- 解压两个tomcat,tomcat1、tomcat2
- 修改两个tomcat的URLEncoding=utf-8
- 修改tomcat2的图标
- ~_tomcat2_webapps_ROOT_中
- 开启tomcat进行测试
- chmod u+x *.sh
- 修改mac环境变量_etc_profile
- 我在这里使用 sudo open -e ~/.bash_profile
- 因为sudo都没有权限操作_etc_profile
- 使环境变量生效
- source ~/.bash_profile
- 检验是否生效
- localhost:bin czh$ echo $CATALINA_BASE
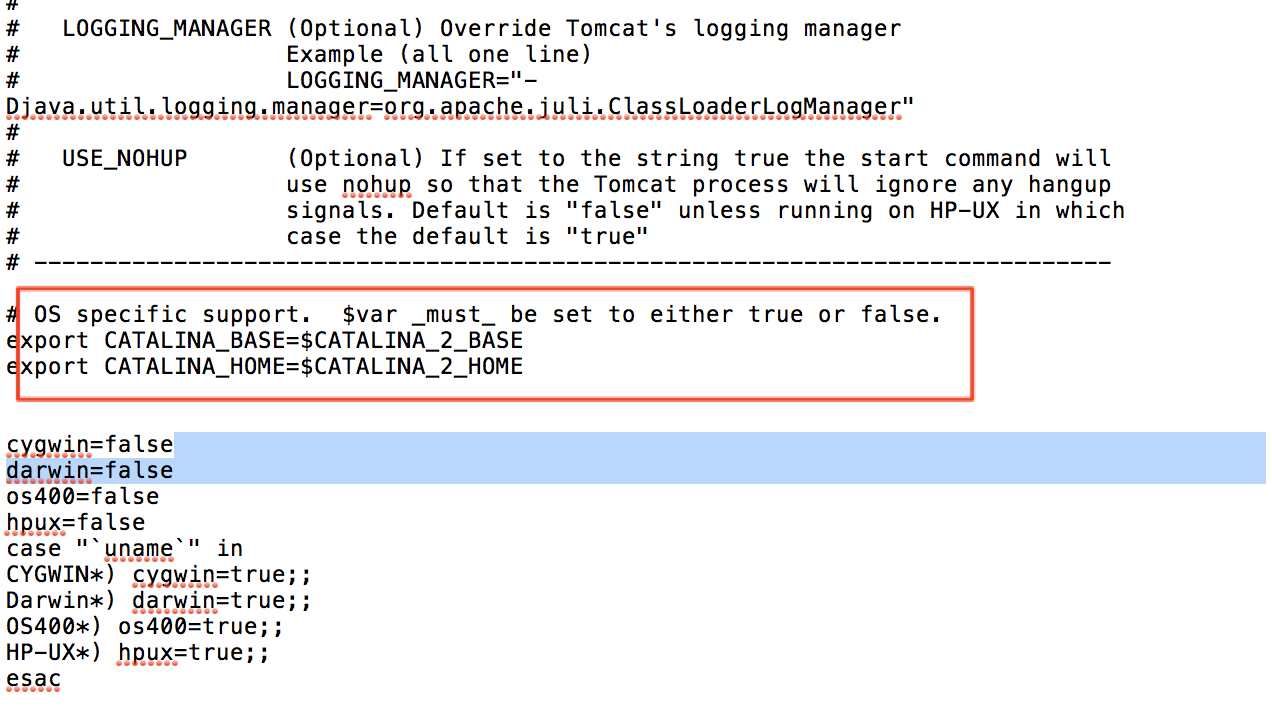
- 修改tomcat2的catalina.sh文件的配置
- 修改tomcat2的conf/server.xml的三个端口号
- 同时启动tomcat1,2
- 一个端口8080,一个端口9080
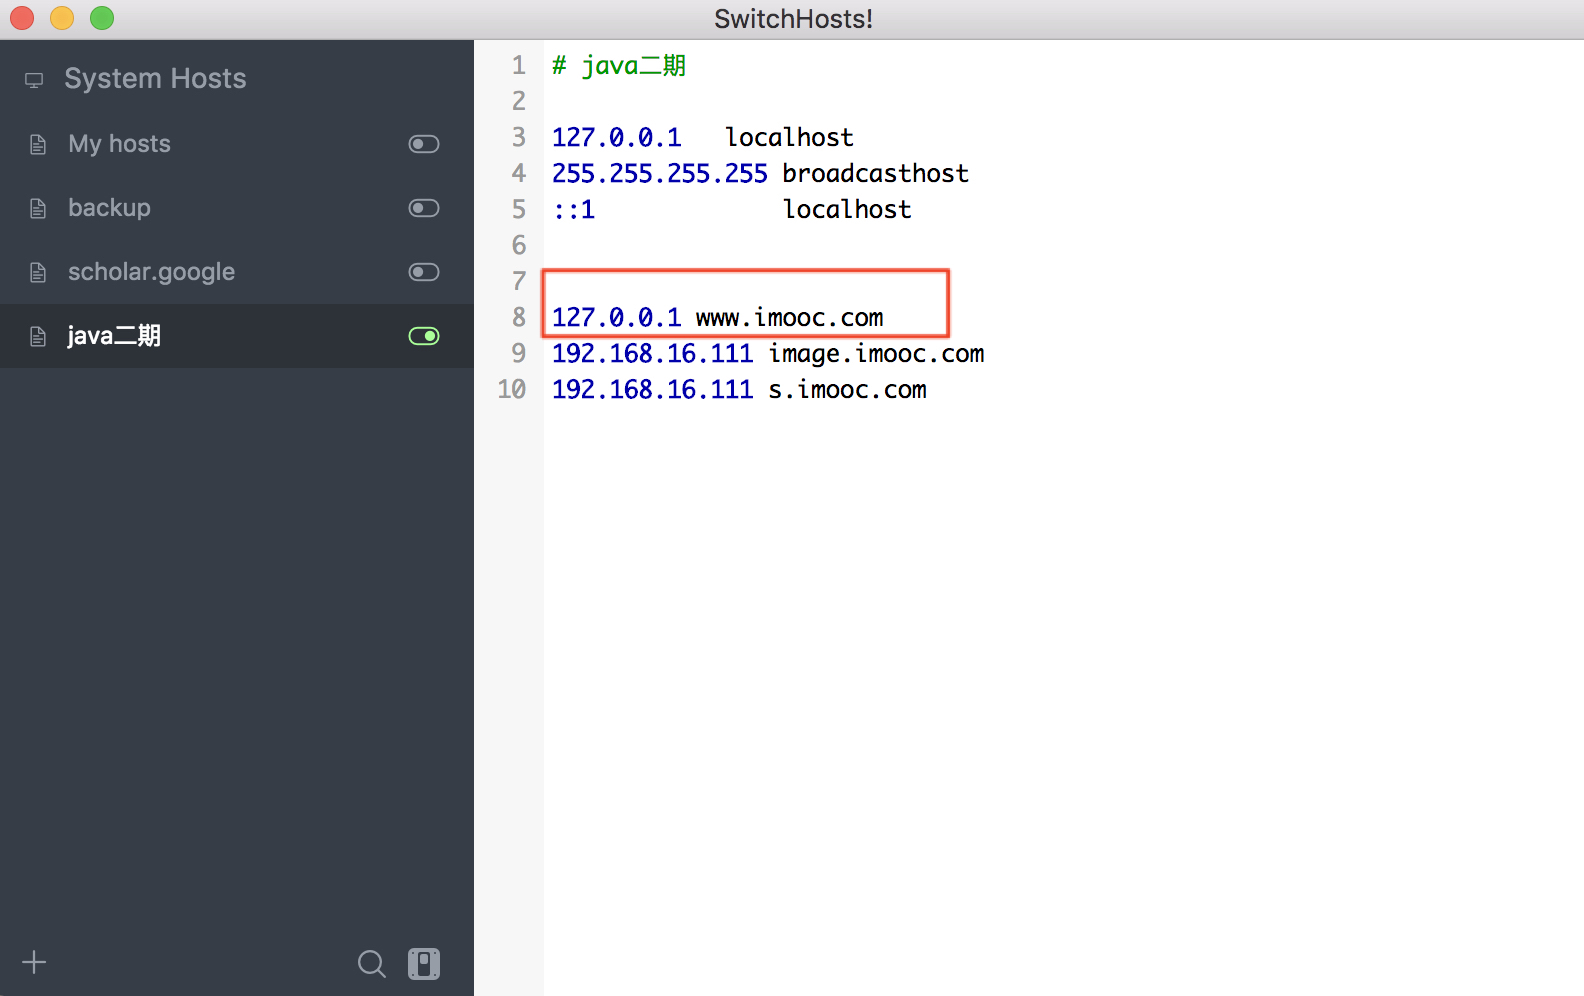
配置host,启动nginx
- 配置Mac的host,将域名指向127.0.0.1
- 测试通过域名+端口号,进入tomcat1,Tomcat2
- 注意这里并有启动nginx,也就说访问tomcat没有通过nginx
- 启动nginx
- 访问域名,不加端口号,看到nginx页面
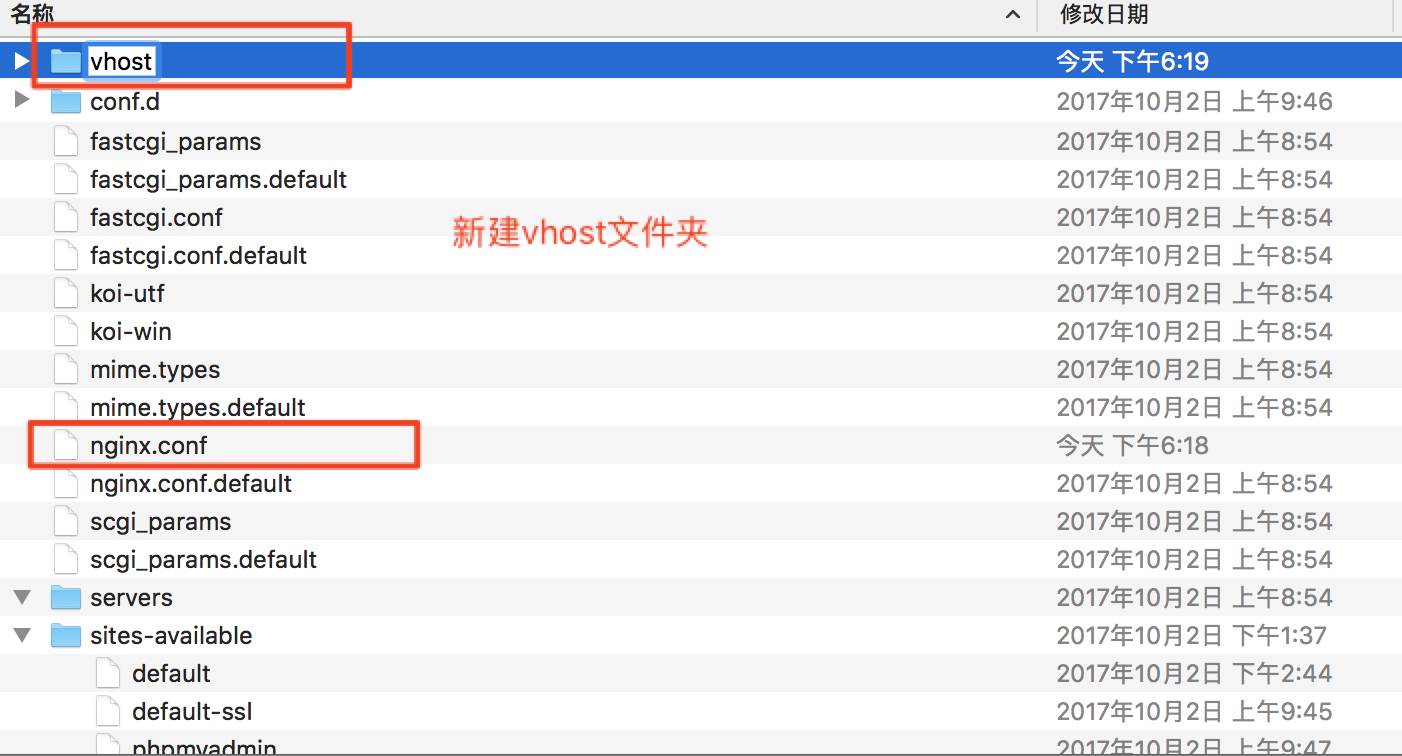
配置nginx,实现负载均衡
- 配置nginx负载均衡
- 通过nginx的反向代理去访问nginx
- nginx -t
- sudo nginx -s reload
- 出现这个警告不用管:nginx: [warn] conflicting server name “localhost” on 0.0.0.0:80, ignored
重点提取:
下载tomcat7,我放在了~路径下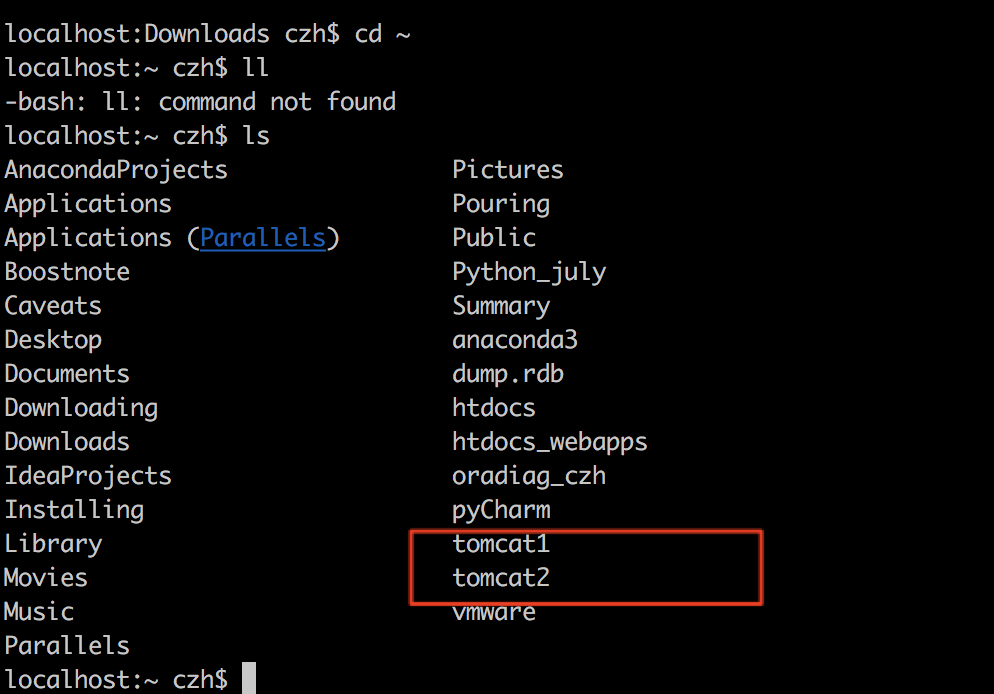
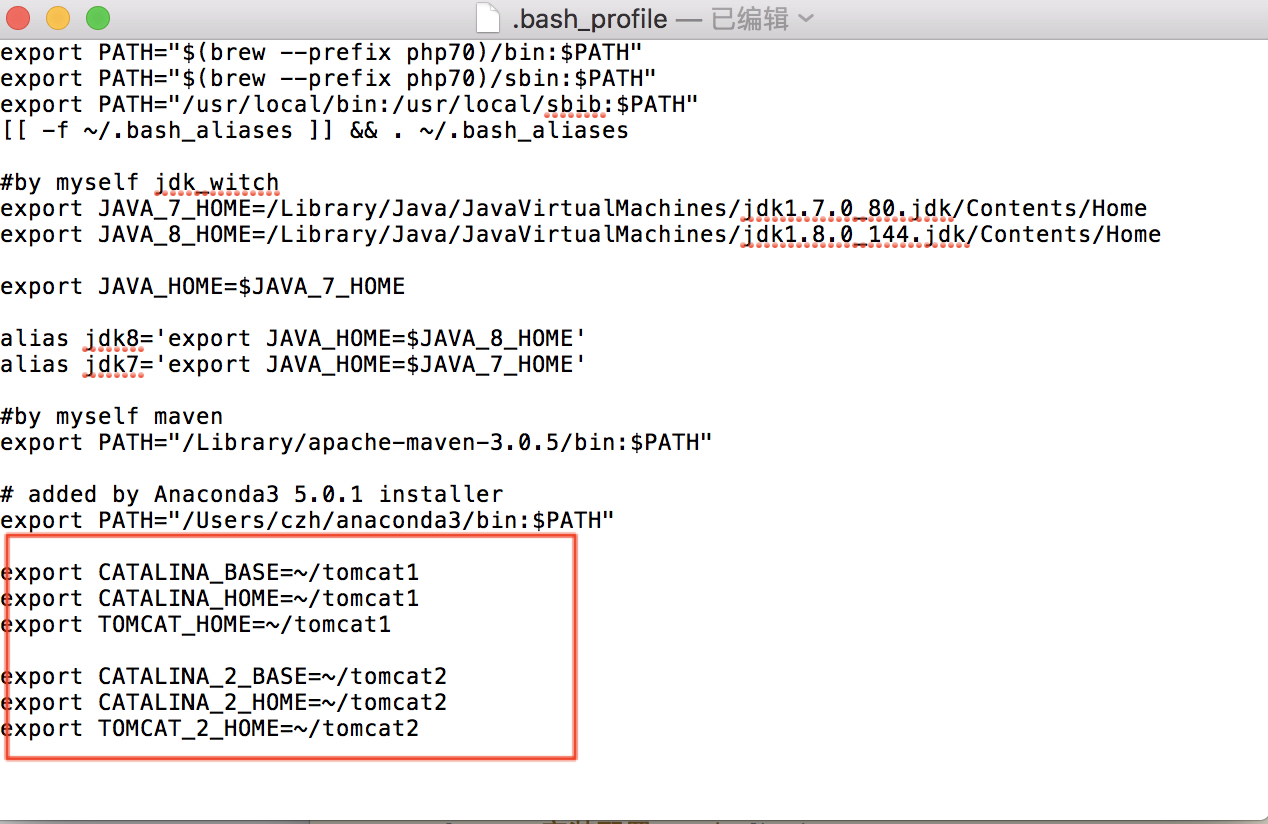
1 | export CATALINA_BASE=~/tomcat1 |
nginx的地址:_usr_local_etc_nginx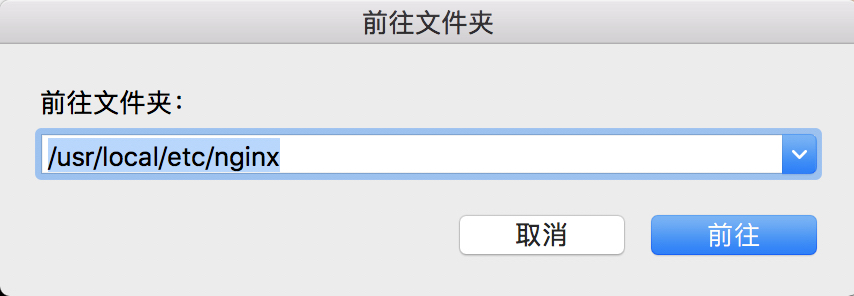
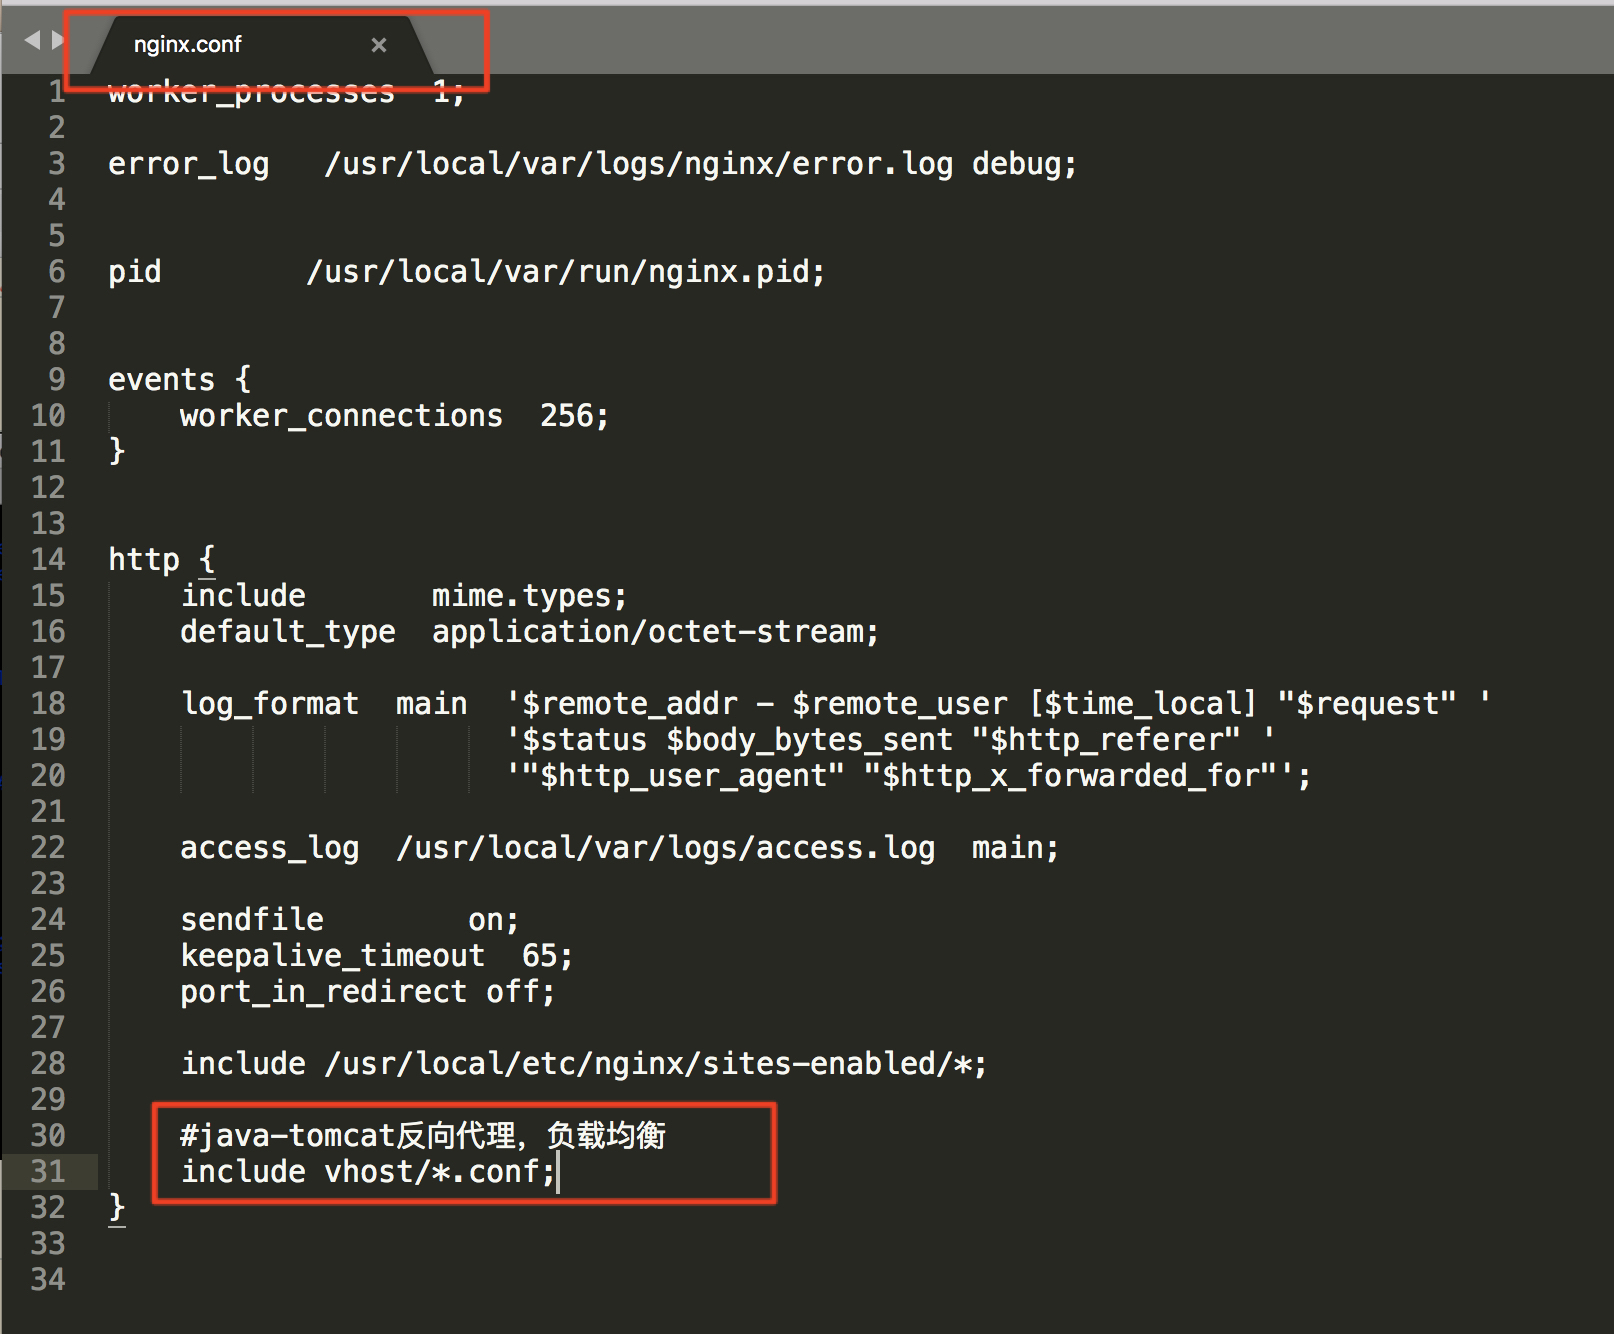
1 | upstream www.imooc.com{ |